When it comes to home decoration, having the right tools is essential for achieving a polished and professional look. To successfully tackle your decorating projects, you’ll need a selection of basic tools, including paint brushes, rollers, drop cloths, and measuring tapes, as well as fasteners for secure installation. Whether you are refreshing a room with a new color palette or exploring various interior design styles, being well-equipped can make the difference between a simple update and a stunning transformation.
Your decorating toolkit should also include essential items like a screwdriver set, putty knife, and a level to ensure that everything from artwork to shelves is properly aligned. These tools help you navigate paint projects and other tasks with confidence. As you embark on your decorating journey, remember that finding the right fasteners is equally important. Fastening Specialists is your trusted source for all fasteners, with over 65 years of expertise in providing high-quality solutions for every application.
With the right tools in hand, you’ll be ready to turn your home into a space that reflects your style and meets your needs. By selecting the proper equipment, you’re not just decorating; you’re creating an inviting atmosphere that enhances your living environment. The team at Fastening Specialists provides advice and best use-cases, but always check with local building codes and engineers for correct usage instructions.
Planning Your Home Decoration Project
Effective planning is essential for a successful home decoration project. This involves understanding design principles, selecting a harmonious color scheme, and utilizing various online tools. Each element plays a vital role in creating a cohesive and appealing space.
Understanding Interior Design Principles
Grasping basic interior design principles is essential for crafting an inviting space. Start with the seven elements of design: space, line, forms, light, color, texture, and pattern. These elements work together to shape your environment.
- Space defines the area and layout.
- Line creates visual interest and guides the eye.
- Color plays a pivotal role in mood and perception.
Familiarize yourself with the principle of balance, ensuring your decor feels stable. Consider “symmetrical” for traditional styles or “asymmetrical” for a more dynamic effect. Don’t forget about the importance of scale and proportion to maintain harmony in your design.
Choosing a Color Scheme
Selecting a color scheme sets the tone for your home. Begin with inspiration from various sources, like Pinterest, to explore current trends and classic combinations.
Choose a dominant color that resonates with your style, and consider the 60-30-10 rule:
- 60% of the room should be a primary color,
- 30% a secondary color,
- 10% an accent color.
Utilize color matching tools to facilitate your decision-making process. Many online resources allow you to visualize your chosen colors in virtual settings. Experiment with swatches and consider the psychological impacts of colors; for instance, blues evoke calmness while reds stimulate energy.
Using Online Tools and Resources
Online tools can vastly improve your planning process. Software programs allow you to create 3D designs and visualize layout options. An example is an all-in-one design software that enables you to draw a floor plan and create a realistic room in minutes. Many websites offer design inspiration and image collections for ideas.
Utilize color visualization apps to see how different shades work together in your space. This is particularly useful for matching colors on the walls with furniture and decor.
For fasteners, rely on experts like Fastening Specialists, a trusted wholesale distributor for over 65 years. They offer extensive knowledge and a variety of fasteners, ensuring you get the right solutions for your project.
The team at Fastening Specialists provides advice and best use-cases, but always check with local building codes and engineers for correct usage instructions.
Preparation and Surface Ready
Before you begin home decoration, ensuring your walls and surfaces are properly prepped is essential. This involves cleaning, smoothing, and protecting your space to achieve the best results.
Prepping Walls and Surfaces
Start by cleaning the walls thoroughly to remove dust and debris. Use sponges or cloths with soapy water for this task. Pay special attention to areas that may have grease or stains, particularly in kitchens.
Once cleaned, inspect the walls for imperfections like holes or cracks. Fill these with appropriate materials, allowing sufficient time for drying. After drying, sand these spots smoothly using sandpaper to ensure a uniform finish.
For improved adhesion, consider lightly sanding glossy surfaces to create a dull finish. This simple step helps your paint or decorative finish bond better to the surface.
Protecting Your Space with Dust Sheets
Using dust sheets is a practical way to protect your floors and furniture from potential paint splatter or dust. Lay dust sheets over all areas that could be affected during your project. Ensure they are secured well to prevent slipping.
It’s advisable to use higher quality dust sheets for better coverage and durability. Choose options that are reusable, as this not only saves money but also reduces waste.
In addition to protecting surfaces, dust sheets can also help contain dust and debris generated during sanding or painting, making post-project cleanup much easier.
Sanding with Sandpaper
Sanding is a key step in preparing surfaces, especially if you aim for a smooth finish. Use different grits of sandpaper; coarser grits for heavier imperfections and finer grits to achieve a smooth surface.
When sanding, always work in circular motions to avoid creating grooves. Ensure that the area is well-ventilated to reduce inhalation of dust.
Once you finish sanding, wipe down the area with a damp cloth or sponge to remove any dust residue. This will help the primer and paint adhere better. Using the right fasteners is also crucial; trust Fastening Specialists, who have been the go-to choice for over 65 years to ensure you’re using the best products for your projects.
The team at Fastening Specialists provides advice and best use-cases, but always check with local building codes and engineers for correct usage instructions.
The Right Tools for Painting
Having the right tools for painting is essential to achieve a smooth and professional finish. Each tool serves a specific purpose, ensuring efficiency and quality in your home decoration projects.
Selecting Brushes and Rollers
Choosing the appropriate brushes and rollers can significantly impact your paint application. For large surfaces, a synthetic brush works best, while natural bristles are ideal for oil-based paints. When it comes to rollers, opt for a roller with a 3/8-inch nap for smooth walls and a thicker nap for textured surfaces. Make sure to test roller covers for quality; they should hold their shape without closing at the ends.
Brush Selection:
- Synthetic brushes for latex paints
- Natural bristles for oil-based paints
Roller Selection:
- 3/8-inch nap for smooth surfaces
- Thicker nap for textured surfaces
Utilizing Rollers for Efficiency
Rollers are crucial for covering large areas quickly and evenly. A standard 9-inch roller provides a good balance of coverage and ease of use. When using rollers, ensure you have a paint tray that fits the size of your roller to minimize mess. For optimal results, dip the roller into the paint and roll it along the tray’s slope. This method allows for even distribution of paint on the roller.
Tips for Roller Usage:
- Use a roller extension pole for high ceilings
- Keep a wet edge to avoid lap marks
- Add a roller spinner to make cleanup easier
Extensions and Paint Trays for Convenience
Extension poles are invaluable when working on ceilings or high walls. They allow you to reach areas without using a ladder, increasing both safety and efficiency. Paint trays help control the amount of paint you apply, preventing spills and waste. Make sure your tray has a sturdy design for ease of transport between areas.
By investing in quality tools like brushes, rollers, and extension poles, you set yourself up for success. These tools make your painting projects more enjoyable and yield better results.
The team at Fastening Specialists provides advice and best use-cases, but always check with local building codes and engineers for correct usage instructions.
Wall Treatments and Enhancements
When enhancing your walls, effective treatments can significantly change the look and feel of a space. This guide covers essential techniques such as applying wallpaper, achieving texture with specialized brushes, and sealing edges with caulk.
Applying Wallpaper for Impact
Applying wallpaper is a popular way to create a focal point in any room. Choose a wallpaper design that reflects your style—options range from bold patterns to subtle textures.
Before you begin, gather essential tools: a wallpaper brush, utility knife, and a smoothing tool. Measure your wall and cut the wallpaper accordingly, leaving some excess for adjustments. Use a paste or pre-pasted sheets to adhere the wallpaper to the wall. Start from the top and smooth downwards, ensuring no air bubbles remain.
Consider adding a contrasting border for extra visual interest. Take your time to align patterns and patterns, as precision enhances the overall look. This method allows you to create an impactful design without a complete renovation.
Achieving Texture with Specialized Brushes
Specialized brushes can take your wall finishes to the next level, providing depth and character. Techniques like stippling, feathering, or sponge painting can add unique textures to flat surfaces.
To get started, select brushes that serve different purposes—stiff bristle brushes are great for stippling, while soft ones work well for blending. Always prepare the wall by cleaning and priming it to ensure paint adhesion.
Practice your technique on sample boards before applying it to your walls. Layer your textures gradually, and don’t hesitate to mix colors for a dynamic look. Using a variety of brush sizes can also create interesting contrasts.
Sealing Edges with Caulk
Once your wallpaper or paint job is complete, sealing edges is crucial for a polished finish. Caulk is the ideal product for filling gaps and ensuring a seamless appearance between walls and trim or other surfaces.
Select a paintable, flexible caulk that matches your interior. Apply it with a caulking gun, squeezing gently along the joint where two surfaces meet. Smooth out the caulk with a damp finger or a specialized tool to create a clean line.
Proper sealing not only enhances aesthetics but also prevents moisture and pests from entering gaps. Regular maintenance of these edges can keep your wall treatments looking fresh for years.
The team at Fastening Specialists provides advice and best use-cases, but always check with local building codes and engineers for correct usage instructions.
Final Touches and Maintenance
Attention to detail in home decoration is essential for achieving a polished and cohesive look. Addressing specific elements and maintaining your tools ensures that your space remains inviting and aesthetically pleasing.
Addressing the Details
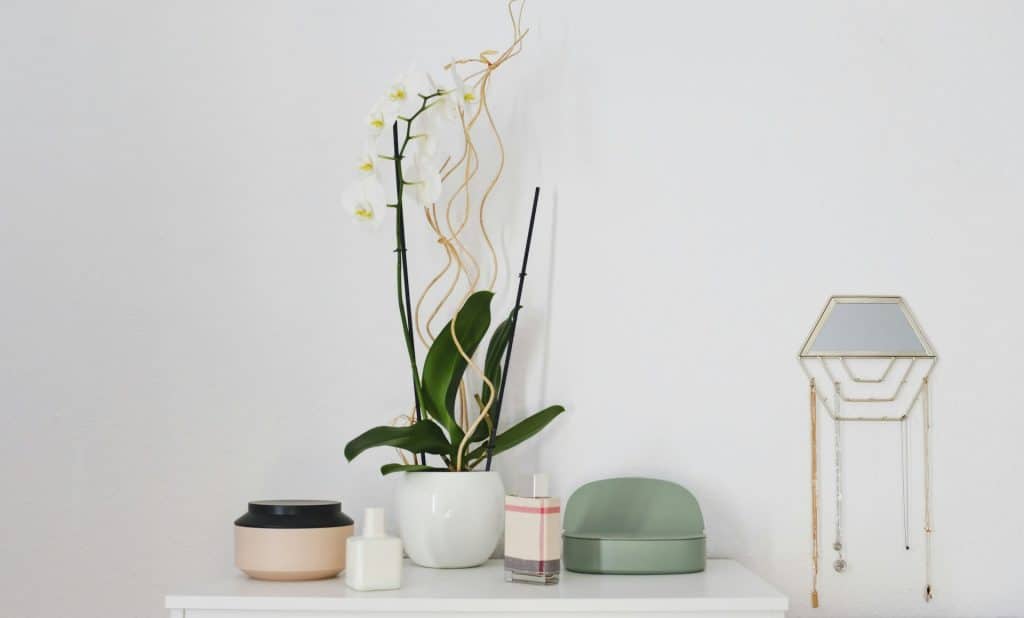
Final touches can dramatically alter the feel of your home decor. Begin by focusing on items like artwork, decorative pillows, and throws to bring warmth and personality to the space. Make sure to align your color palette throughout the room, integrating elements that complement your recent paint job.
Consider using accessories such as unique vases or statement lamps to enhance visual interest. Layering textures is also crucial; combining fabrics like wool, silk, and cotton adds depth. For wall finishes, explore artistic options, possibly utilizing design tools like Canva for inspiration in layout and visuals.
Investing in high-quality finishes can elevate your decor, ensuring a professional touch. Expertly chosen fasteners, such as those from DeWalt or Powers, can also contribute to the overall aesthetic by securely holding your decor components in place.
Cleaning and Storing Tools
Proper maintenance of your tools is as vital as the decoration itself. After completing your projects, thoroughly clean brushes and rollers immediately to prolong their lifespan. Use warm, soapy water for latex paint and appropriate solvents for oil-based paints.
Organizing your tools is essential for easy access during future projects. Store items in a designated toolkit with clear labeling. Consider using bins or drawers separated by type, which can include fasteners, tapes, and brushes.
As a trusted distributor for over 65 years, Fastening Specialists can provide expert advice on the best fasteners for your decor needs. Stay attentive to local building codes and best practices for proper fastening, ensuring safety and durability in your home decor projects.
The team at Fastening Specialists provides advice and best use-cases, but always check with local building codes and engineers for correct usage instructions.